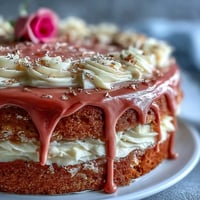
 Pin It
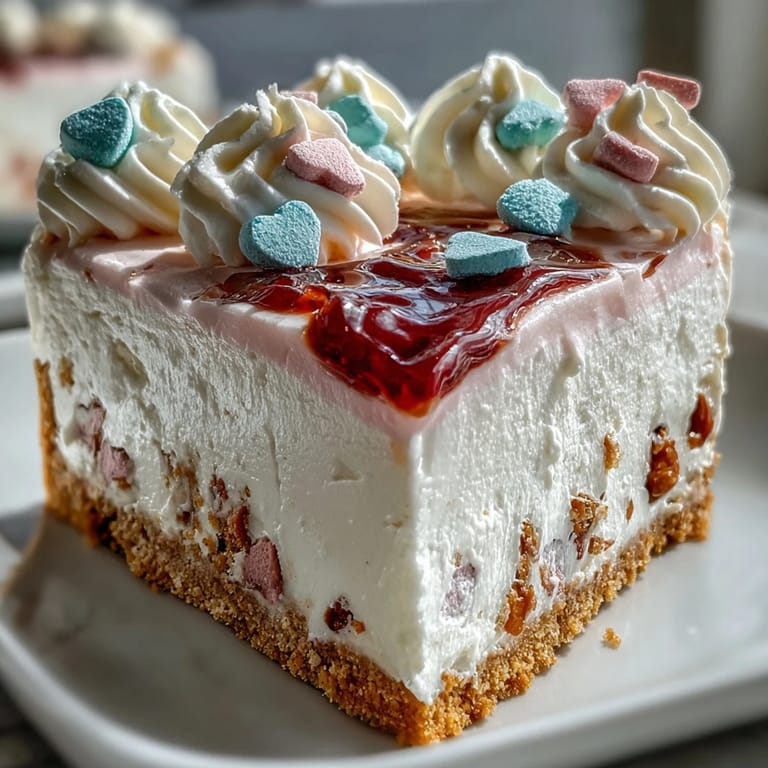
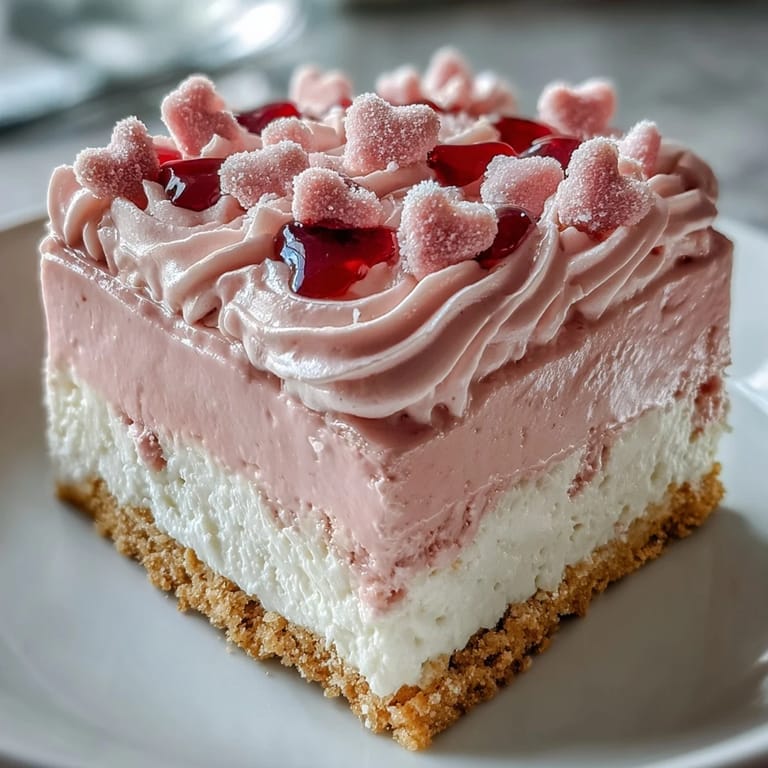
 My sister opened the fridge one Valentine's morning and groaned at the pile of conversation hearts I'd been hoarding since January. I promised her I'd use them for something that wasn't just mindless snacking, and this no-bake cheesecake was born out of that slightly guilty pile of pastel candy. The creamy filling came together in under twenty minutes, and I remember feeling a little smug when she admitted it tasted like something from a fancy bakery. No oven, no stress, just cold bowls and a springform pan that finally earned its keep. That cake disappeared faster than any batch of cookies I've ever baked.
I brought this to a potluck once, and someone asked if I'd ordered it from a specialty shop. The pastel frosting and crunchy candy shell made it look more complicated than it actually was, and I loved watching people's faces light up when they bit into that airy whipped layer. One friend scraped her plate clean and asked for the recipe on the spot. It's become my go-to whenever I want to look impressive without spending hours in the kitchen.
Ingredients
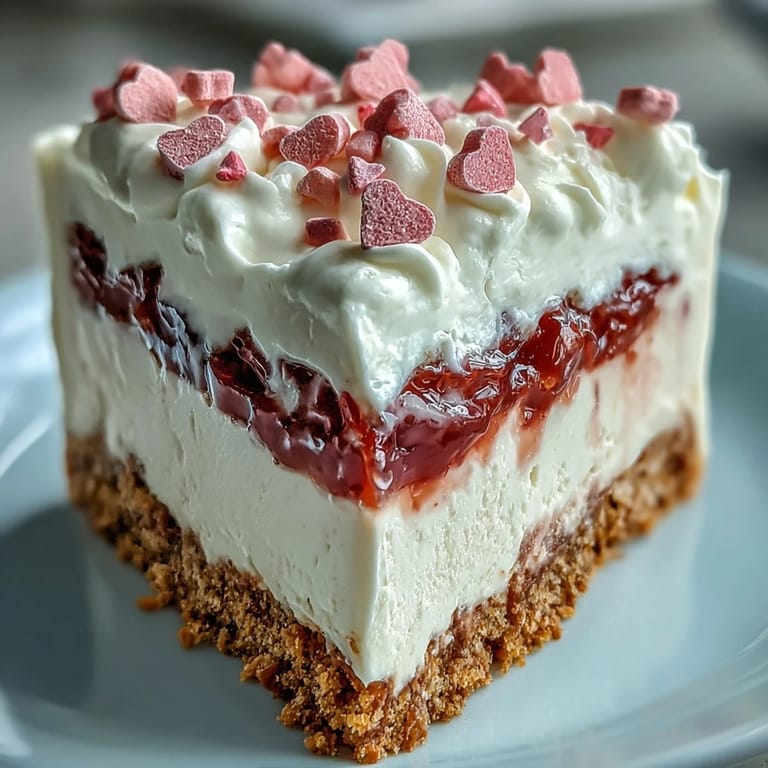
- Graham cracker crumbs: The sweet, slightly honeyed base holds everything together and adds a gentle crunch that contrasts with the creamy filling.
- Unsalted butter: Melted and mixed with the crumbs, it binds the crust without making it greasy; I always let it cool slightly before adding.
- Granulated sugar (for crust): Just enough sweetness to balance the buttery graham flavor without overpowering the cheesecake layer.
- Cream cheese: Softened to room temperature, it whips into a velvety cloud that's the heart of this no-bake dessert.
- Powdered sugar (for filling): Dissolves instantly and sweetens the cream cheese without any gritty texture.
- Pure vanilla extract: A teaspoon in the filling and a half teaspoon in the frosting brightens every bite with warm, rounded flavor.
- Heavy whipping cream (for filling): Whipped to stiff peaks, it makes the cheesecake layer light and mousse-like instead of dense.
- Heavy whipping cream (for frosting): Whipped again with powdered sugar, it creates a fluffy, spreadable frosting that holds its shape beautifully.
- Pink gel food coloring: Optional, but a drop or two turns plain whipped cream into a soft blush that matches the candy hearts perfectly.
- Conversation heart candies: Crunchy, pastel, and nostalgic, they cover the sides and top in a playful candy shell that cracks with every forkful.
- Rainbow sprinkles: A quarter cup scattered on top adds extra color and a tiny bit of sparkle.
Tired of Takeout? 🥡
Get 10 meals you can make faster than delivery arrives. Seriously.
One email. No spam. Unsubscribe anytime.
Instructions
- Build the buttery base:
- Stir graham cracker crumbs, melted butter, and sugar until the mixture clumps like damp sand. Press it firmly into your parchment-lined springform pan, using the back of a measuring cup to smooth and compact every corner, then chill for fifteen minutes so it sets up nicely.
- Whip the cream cheese:
- Beat softened cream cheese until it's silky and lump-free, then add powdered sugar and vanilla and whip until the mixture turns fluffy and pale. This base is forgiving, but cold cream cheese will leave you with lumps, so patience at room temperature pays off.
- Fold in the clouds:
- In a separate chilled bowl, whip one cup of heavy cream to stiff peaks, then gently fold it into the cream cheese mixture with a rubber spatula, turning the bowl and slicing through until no streaks remain. The filling should be airy and light, almost like mousse.
- Smooth and chill:
- Spread the cheesecake filling over the chilled crust, using an offset spatula to level the top and nudge it into the edges. Cover the pan and refrigerate for at least four hours, or overnight if you want the firmest, cleanest slices.
- Whip the frosting:
- In a clean, cold bowl, whip the remaining cup of cream with powdered sugar and vanilla until stiff peaks form, then add pink gel coloring one drop at a time, folding gently until you reach your perfect pastel shade. This frosting is soft but stable enough to hold candy in place.
- Release and frost:
- Unlatch the springform pan, lift the ring away, and transfer the chilled cheesecake to a serving plate. Spread the pink whipped frosting over the top and sides in generous swoops, smoothing it with your spatula for an even coat.
- Press the candy shell:
- Gently press conversation hearts into the frosting around the sides, covering the cake in an even layer of pastel candy. Scatter more hearts and rainbow sprinkles across the top, then chill for thirty minutes so everything sets before you slice.
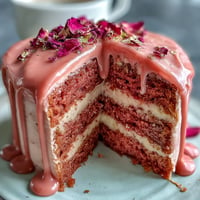
 Pin It
 The first time I sliced into this cake, my niece gasped at the clean, pastel layers and declared it looked too pretty to eat. She changed her mind after one bite, though, and I watched her scrape every last smear of frosting off her plate with a spoon. That's when I realized this dessert wasn't just about the candy or the colors; it was about the way people smiled before they even tasted it.
Making the Crust Perfect
I used to think pressing a crust was simple until I ended up with a crumbly mess that fell apart with every slice. The trick is treating the mixture like wet sand at the beach: pack it down hard, especially around the edges, and use the flat bottom of a measuring cup to smooth and compress the surface. Chilling it for fifteen minutes firms up the butter and locks everything in place, so when you pour the filling on top, the crust stays put and slices cleanly every time.
Whipping Cream the Right Way
Cold bowls and cold beaters are non-negotiable if you want whipped cream that holds its shape. I learned this the hard way after whipping cream in a room-temperature bowl and ending up with soupy, deflated foam that barely held a peak. Now I chill my mixing bowl and whisk in the freezer for ten minutes before I start, and I keep the cream straight from the fridge until the very last second. Stiff peaks should stand tall and hold their shape when you lift the beater, and stopping right at that moment is the difference between fluffy frosting and accidental butter.
Decorating Without the Mess
Pressing candy hearts into soft frosting can crack or smudge the surface if you're too aggressive, so I learned to handle them like delicate little tiles. Start at the bottom and work your way up in rows, pressing each heart gently but firmly so it sticks without sinking. If a few fall off, don't panic; just dab a tiny bit of frosting on the back and reattach them once the cake is chilled.
- Chill the frosted cake for ten minutes before adding candy so the surface is slightly firmer and easier to work with.
- Use a mix of pastel colors for a balanced look, or stick to one shade for a more uniform design.
- Save the prettiest hearts for the top where everyone will see them first.
 Pin It
 Every time I pull this cake from the fridge, I'm reminded that the best desserts don't have to be complicated or stressful. This one just needs a little patience, a cold bowl, and a pile of candy that makes everyone smile.
Recipe FAQs
- → How long should I chill the cheesecake before decorating?
Refrigerate the filled crust for at least 4 hours, or ideally overnight. This ensures the creamy center sets properly before adding whipped frosting and candy decorations.
- → Can I make this dessert ahead of time?
Prepare the crust and filling up to 2 days in advance. Add whipped frosting and conversation hearts within 4 hours of serving to prevent candies from becoming too soft or sticky.
- → What can I substitute for conversation hearts?
Try valentine-themed sprinkles, crushed pink peppermints, chocolate hearts, or edible pearl beads. Any small, crunchy decorative topping works beautifully with the creamy texture.
- → Why did my whipped cream not hold stiff peaks?
Ensure your heavy cream is thoroughly chilled before whipping. Use a cold metal bowl and beaters, and avoid overwhipping which can cause the cream to separate and become grainy.
- → Can I use a different crust besides graham crackers?
Vanilla wafers, chocolate sandwich cookies, or shortbread all create delicious alternatives. Simply crush 1½ cups of your chosen cookie and proceed with the same butter and sugar measurements.
- → How should I store leftover slices?
Keep portions in an airtight container in the refrigerator for up to 3 days. The conversation hearts may soften slightly but the flavors remain delightful.